An essential stage of building a tiny house is the framing of the walls, floor and roof so getting this bit right is important.
We will look at how to frame up a tiny house so that you are confident in doing this and making your tiny home structurally sound and stable.
Tiny House Framing Basics
While framing your tiny house may seem like a daunting task, once you grasp the basics it will seem a lot more manageable.
When you have learned some of the basic framing techniques you will be on your way to building your walls, floor and roof. A lot of this knowledge is about the structural load of the frames so that is what we will look at next.
Structural Loads
The forces that are applied to the framing of the tiny house are called the structural loads. These will be from gravity but also from the elements in the form of wind and snow.
If you have a mobile tiny home then the structural load will need to deal with other forces such as sideways movement and vibrations. Proper weight distribution is vital.
2×4 Tiny House Framing
The dimensions of the framing lumber that you use will affect both the available floor space and the overall weight of the house. Depending on local building codes you may need to use 2 x 6 but 2 x 4 is more commonly used.
Studs & Joists
When a length of timber is stood upright and used to frame a wall it is called a stud. When it is laid horizontally and used to frame the floor or roof it is called a joist.
A number of studs that form a frame become a load bearing wall.
Stud & Joist Spacing
The spacing of studs and joists is important for the structural load bearing of the tiny house. You can either space them out at 16 inch on center or 24 inch on center. This simply means each stud is 16 or 24 inches apart when measured from the center.
Spacing at 16 inch provides more structural support while spacing at 24 inch uses fewer materials.
Nail Vs Screws
The choice between nails and screws for framing depends on the forces being applied. Nails are better for withstanding sideways movement while screws hold structures together more firmly due to their thread.
When framing your tiny house you will use a combination of nails and screws depending on the job you are doing. Nails may be used for structural work and screws for attaching the sheathing.
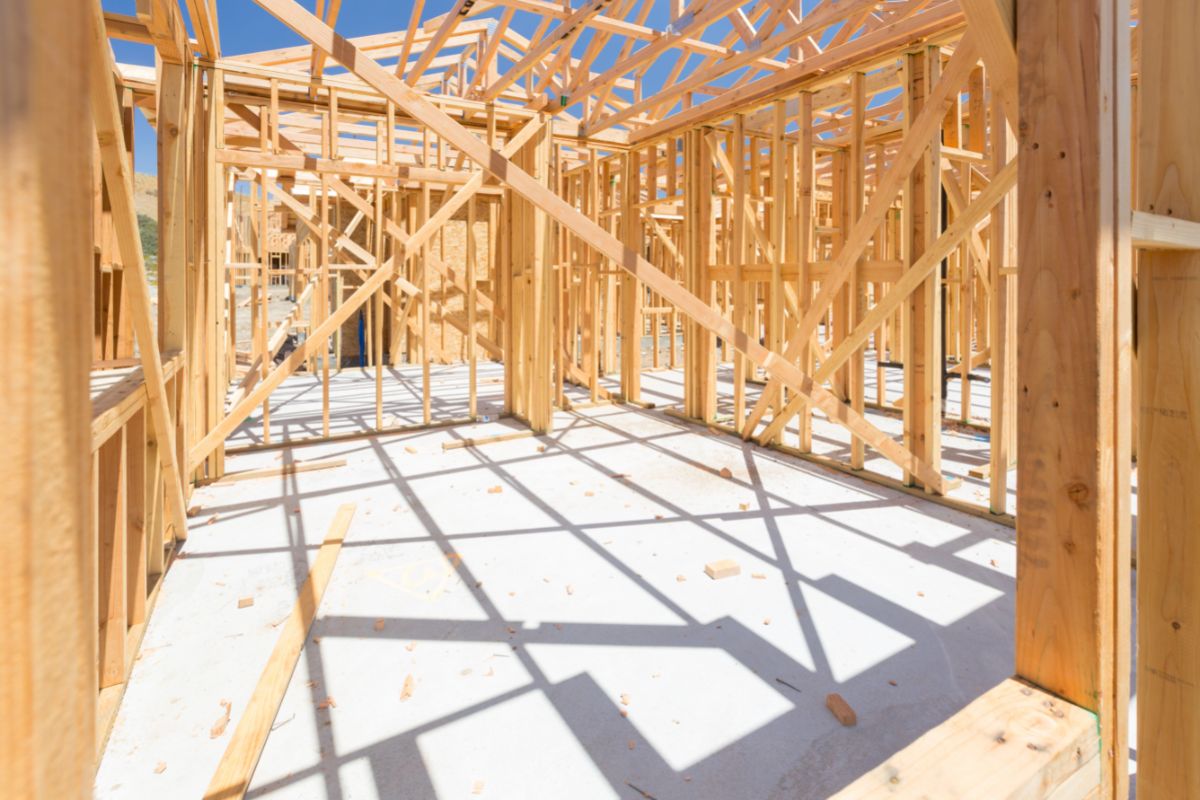
Wall Framing
A wall frame comprises a bottom plate, double top plate and a series of studs with openings for windows or doors. Where the windows or doors are there will be a break in the studs and reinforcement in the form of headers.
Headers are structural beams made using double timbers and a plywood spacer. The header redirects the structural load to the studs to stop the weight interfering with the operation of the windows or doors. 2 x 6 timbers are typically used for headers.
Raising Up The Walls
With the walls framed you can raise them upright and secure them to the subfloor. Before attaching, ensure the walls are square and plumb.
Adding a 2 x 4 diagonally will help keep the frame square as you work. It will take at least 2 people to raise up the walls.
Securing The Walls
To attach the stud walls to each other use 3 ½ inch framing screws. You can use tension ties to attach the wall frames to the floor. Where two walls join, use another top plate and make sure it spans the join between the two walls.
Fenders Framing
If you are building a mobile tiny house you will be constructing it on a trailer. Therefore you need to frame around the fenders. This is just the same as framing around an opening.
Use a header with some trimmers and jack studs over the fenders leaving a ½ inch to 1 inch gap between the header and the fender.
Window Framing
A rough opening for a window will require a header which will transfer the vertical weight load to the jack and king studs on either side of the aperture. These are the double studs used to reinforce the opening.
The opening should be ½ inch larger than the window being fitted.
Door Framing
Door framing is similar to window framing with the addition of a double top plate and trimmer or jack studs to the sides of the door frame for extra strength.
Like the window opening the rough door opening should be slightly larger than the door to be fitted.
Loft Framing
Many people include lofts in their tiny houses for either sleeping areas or extra storage. Frame the loft by cutting studs to the required height and fasten to the existing studs. Cut joists to the necessary width and attach to the top of the supporting studs.
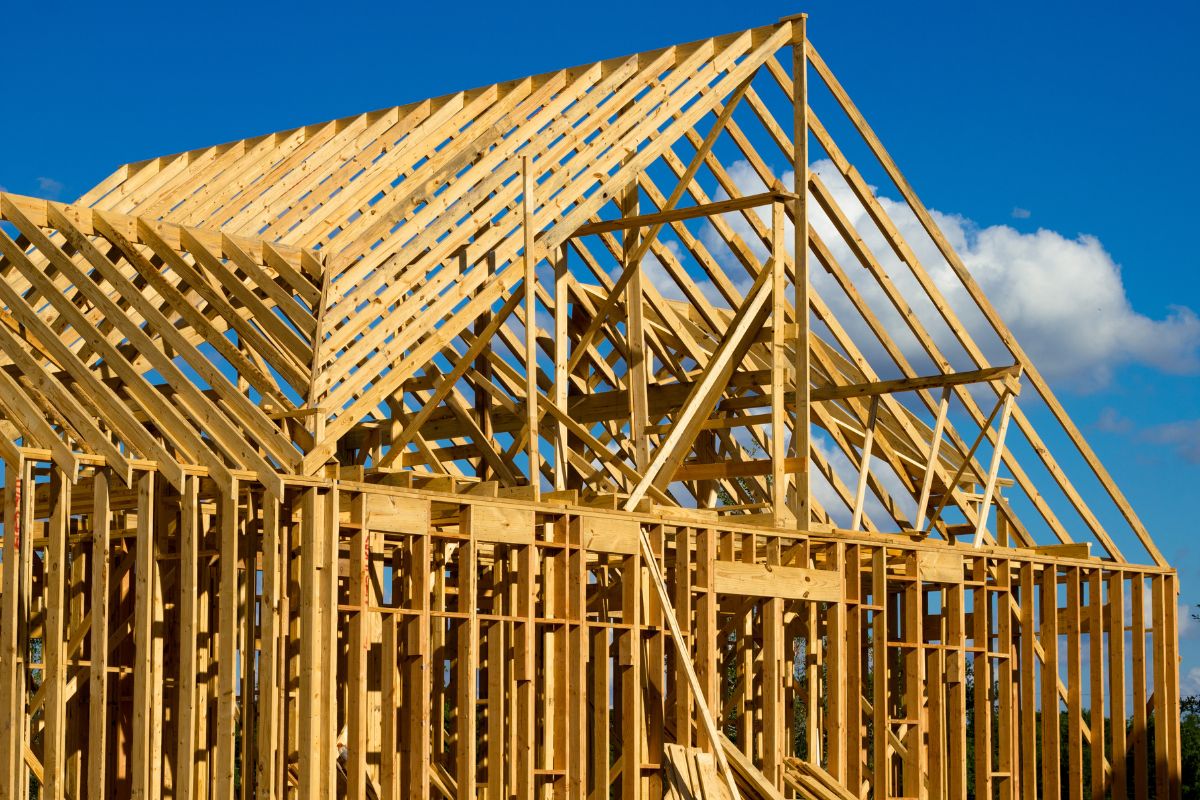
Roof Framing
Your roof framing will depend on the style of roof you have chosen. A single pitch roof which slopes in one direction is perhaps the simplest design. As this is higher at one end it can provide more headroom in the loft.
Rafters of 2 x 6 timber which sit on top of the top plate will support the roof sheathing and siding. The ends will need to be miter cut and a bird’s mouth cut used to fit the end of the rafter to the top plate.
The rafters will be spaced at 16 inch on center and secured with galvanized joist nails and hurricane ties.
Final Thoughts
Perhaps the most important part of your tiny house construction is the framing of the walls, floor and roof, so it is important to get this right. Work to a plan, measure everything twice and take your time.
We hope this guide to framing a tiny house has been helpful for you.

Hi, my name is Joel Adams and I like to think of myself as a professional DIYer. Whatever odd jobs a person needs to be done around the house, I’m their guy.
I’m talking shelves, making sideboards and tables, painting feature walls… the list is neverending!
- How To Drill Into Brick? - October 31, 2022
- How To Repair And Refinish Hardwood? - October 31, 2022
- Floetrol – What Is It? When To Use It: Complete Guide - October 31, 2022